 En
En
 Es
Es
LXD (Linux Container Daemon) is a Linux-based container virtualization and virtual machine management system. LXD is used to run several isolated Linux instances on a single node. LXD can be used as an alternative to OpenVZ technology.
Advantages of using LXD:
- container resources can be edited without stopping the container;
- high security for all cluster nodes;
- flexible configuration of cluster nodes;
- fast container creation and operation;
- high virtualization density.
Features of LXD clusters in VMmanager
In the current version of VMmanager, an LXD cluster can be created only with "Switching" or IP fabric network configuration type and ZFS storage. Containers and VM images are stored in the ZFS pool, and VM backups are stored on the cluster node. Ubuntu 20.04 OS must be installed on the cluster nodes.
The following is not available in LXD clusters:
- connecting user ISO images to virtual machines (VMs);
- adding nodes with two network interfaces;
- creating network bridges;
- live VM migration;
- installing Windows OS;
- connecting to the VM via VNC or SPICE.
VMmanager uses separate OS images to install operating systems in an LXD cluster. The following OS images are available in the current version:
For remote VMs administration you can go to the LXD container console. The console window opens in a separate browser tab.
Fine tuning of VMs
VMs in an LXD cluster have specific features in fine tuning:
- CPU and I/O weights can be set within the range from 0 to 10;
- Read and write speed can be set either in IOPS or Mbps;
- CPU emulation mode is not available;
- you can configure:
-
- network weight — the bigger the weight, the more CPU time is allowed for request processing;
- maximum number of active processes in the container;
- CPU usage limit in percent;
- creating containers inside a container using Docker, Podman, LXC, etc.
Preparing the cluster node
The LXD cluster node must have two disks: the first is the system disk, and the second is for creating VMs.Before connecting the server to the cluster:
- Configure the ZFS pool on the server:
-
Install the zfsutils-linux utility:
sudo apt install zfsutils-linux - Define the block device of the second disk:
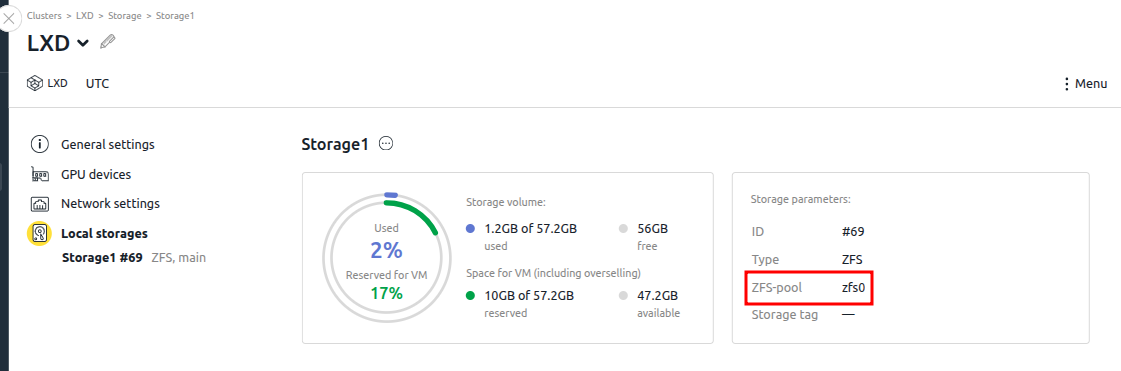
lsblkIn the example, the name of the second disk is vdb, so the name of the block device is /dev/vdb.Example outputNAME MAJ:MIN RM SIZE RO TYPE MOUNTPOINT loop0 7:0 0 91.9M 1 loop /snap/lxd/32662 loop1 7:1 0 40.9M 1 loop /snap/snapd/20290 loop2 7:2 0 49.3M 1 loop /snap/snapd/24792 loop3 7:3 0 63.3M 1 loop /snap/core20/1828 loop5 7:5 0 73.9M 1 loop /snap/core22/2045 loop6 7:6 0 114.4M 1 loop /snap/lxd/33110 sr0 11:0 1 1024M 0 rom vda 252:0 0 50G 0 disk ├─vda1 252:1 0 1M 0 part └─vda2 252:2 0 50G 0 part / vdb 252:16 0 50G 0 disk - Define the pool name. To do this, in the platform interface, go to Clusters → select a cluster → Parameters button → Local storages section → ZFS-pool parameter.
-
Create the ZFS pool:
Comments to the command:zpool create <zpool_name> <device>- <zpool_name> — pool name;
- <device> — partition name.
- Add the pool to LXD: Comments to the command:
lxc storage create <zpool_name> zfs source=<zpool_name>
- <zpool_name> — pool name.
-
- In the /etc/ssh/sshd_config configuration file specify the parameter:
UsePAM yes
Useful tipsRelated topics: